Install through the Beta repository
The Appz4Fun Kodi Repository project publishes Stable and Beta channels. Install the repository add-on ZIP first, then install the video add-on from that repository. These are two different ZIPs: the repository ZIP supplies the catalog and updates; the video add-on ZIP supplies the player.
Upcoming name and feature changes
The repository captured on October 3, 2026 serves NZB-DAV 2.0.0-beta.2 in the Beta channel. The next release changes the displayed name to NeNeTeePee-Stream-Kodi after a release includes the rename. The ID remains plugin.video.nzbdav.
The settings screenshots show current main, not this released beta. The unified backend tab and StreamNZB support are not included in 2.0.0-beta.2. Use a current source build for those features until a release includes them.
Download the repository ZIP
- Open the repository download page on your Kodi device or another computer.
- Download the Beta repository ZIP. At capture time it is
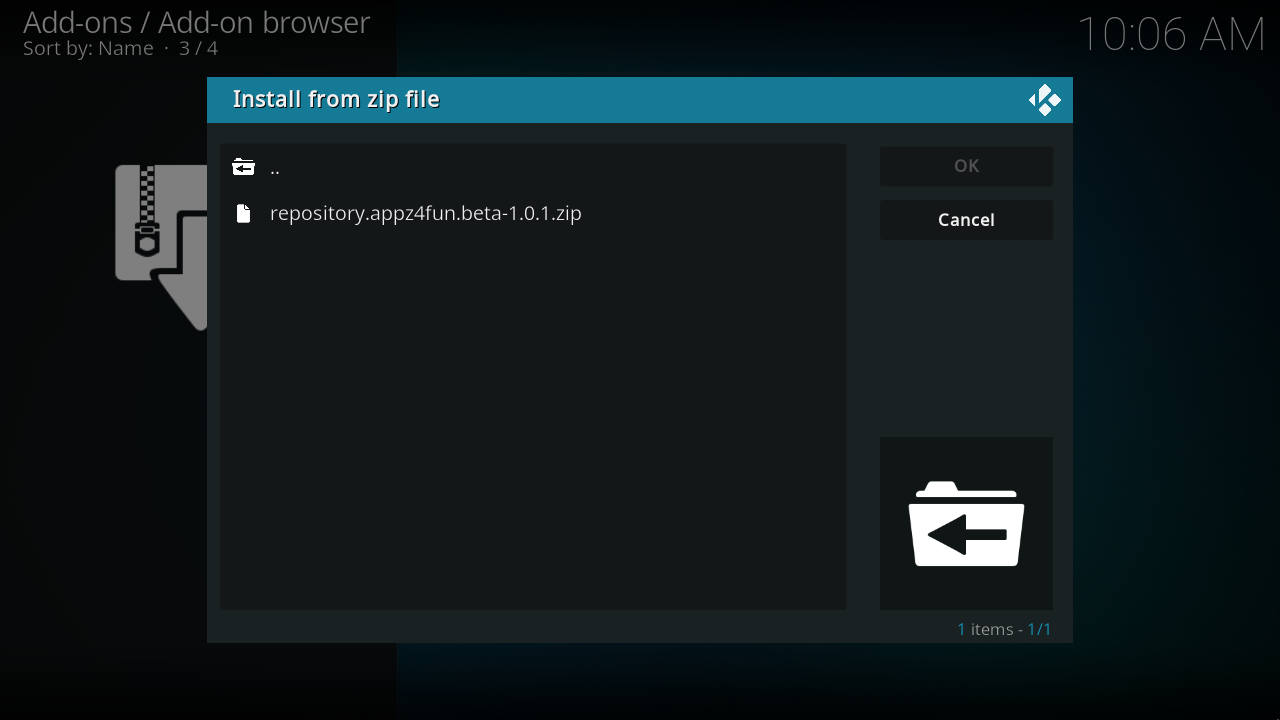
repository.appz4fun.beta-1.0.1.zip; use the version offered by the download page. - Put the ZIP in a folder Kodi can browse. Copy it to the device, a USB drive, or an accessible network share. The VM example uses a folder named Kodi-Repositories under Kodi's profile Downloads folder.
The Pages landing page works in a web browser, but Kodi's HTTP directory browser showed no ZIPs from its root during this walkthrough. Download the ZIP first rather than relying on that URL as a browsable file source.
Add the folder in File manager
- Open Kodi Settings → File manager → Add source.
- Select Browse and choose the folder containing your downloaded ZIP. You can also select None and enter a local or network folder path.
- Enter a name such as Kodi-Repositories and select OK.
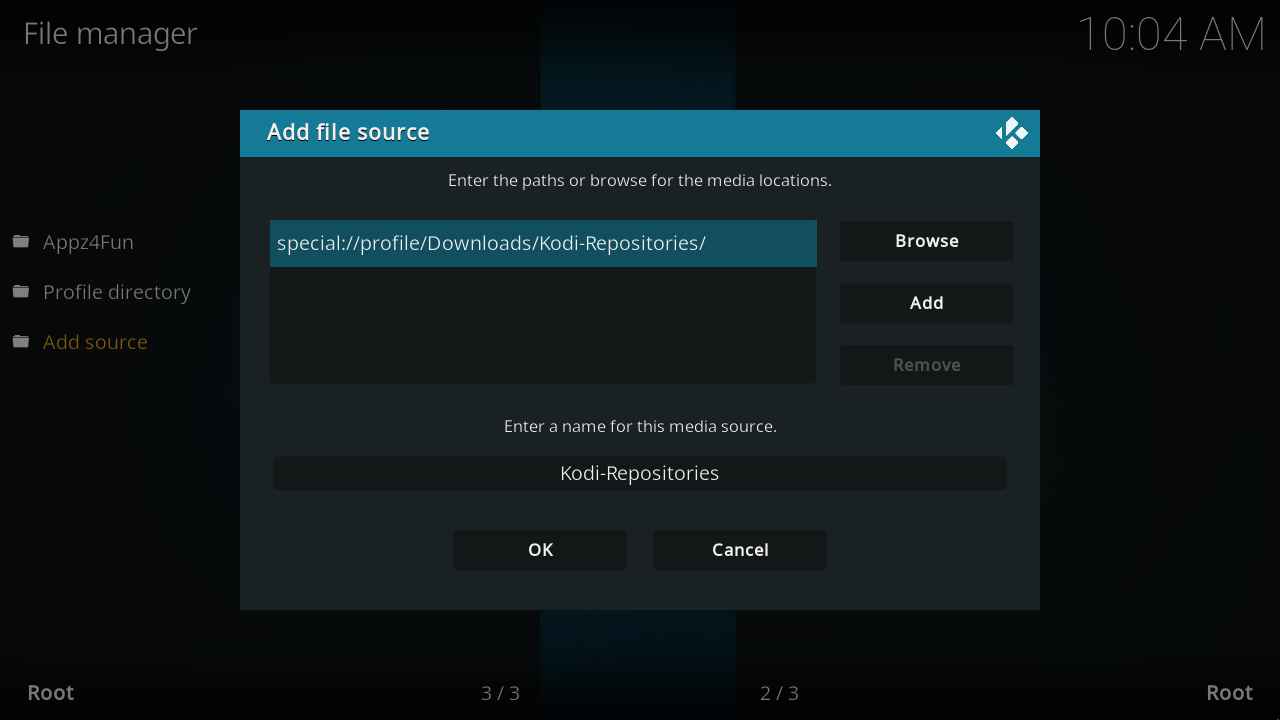
The screenshot uses special://profile/Downloads/Kodi-Repositories/, Kodi's alias for a folder inside the active profile. It works only after the ZIP has been copied there. Use the actual folder you downloaded or copied to on your device. Adding a file source does not install a repository or an add-on.
Install the repository from its ZIP
- Open Settings → System → Add-ons and turn on Unknown sources. Confirm Kodi's prompt for third-party add-ons.
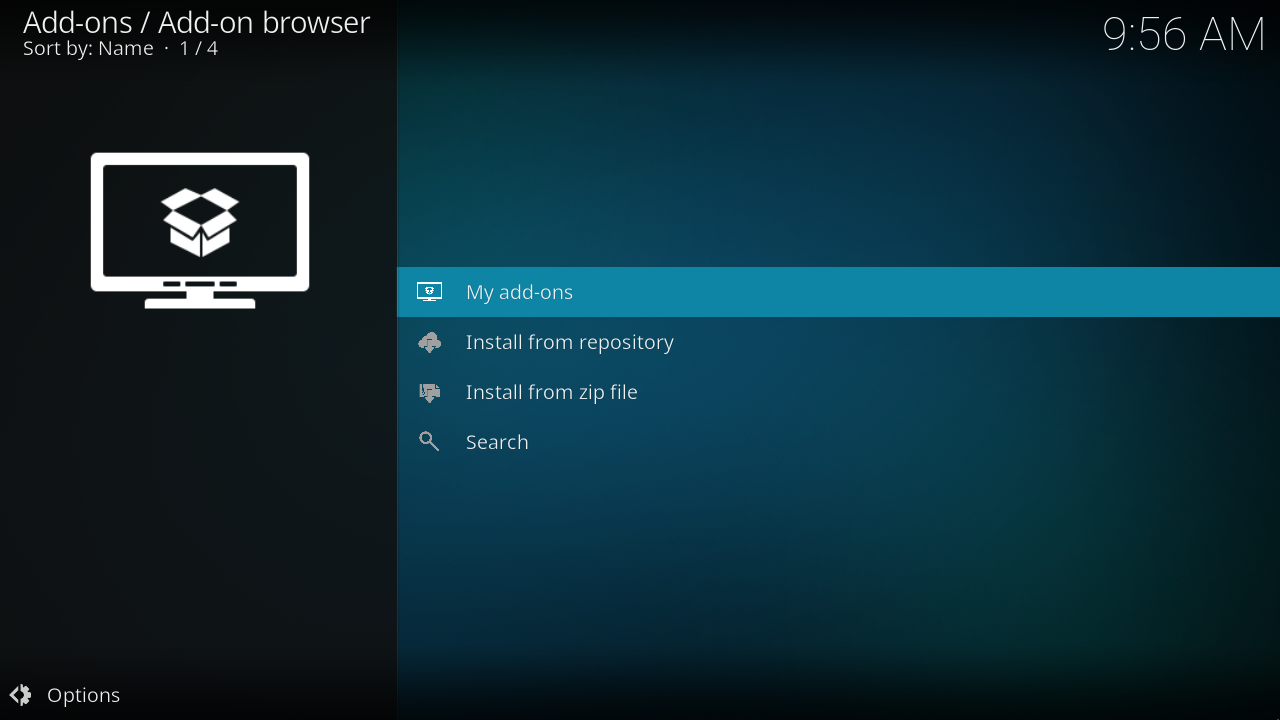
- Open Settings → Add-ons → Install from zip file.
- Select the file source or folder you added, then select the Beta repository ZIP.
- Wait for the Appz4Fun Repository (Beta): Add-on installed notification.
Install the video add-on from the Beta repository
- Open Install from repository in the add-on browser.
- Select Appz4Fun Repository (Beta).
- Select Video add-ons.
- Select NZB-DAV, then Install. Accept the dependency installation prompt if Kodi shows one. If replacing a manual installation, Kodi can ask whether to replace it; keep your add-on data when prompted.
- Wait for installation to finish. Kodi now tracks updates from that repository.
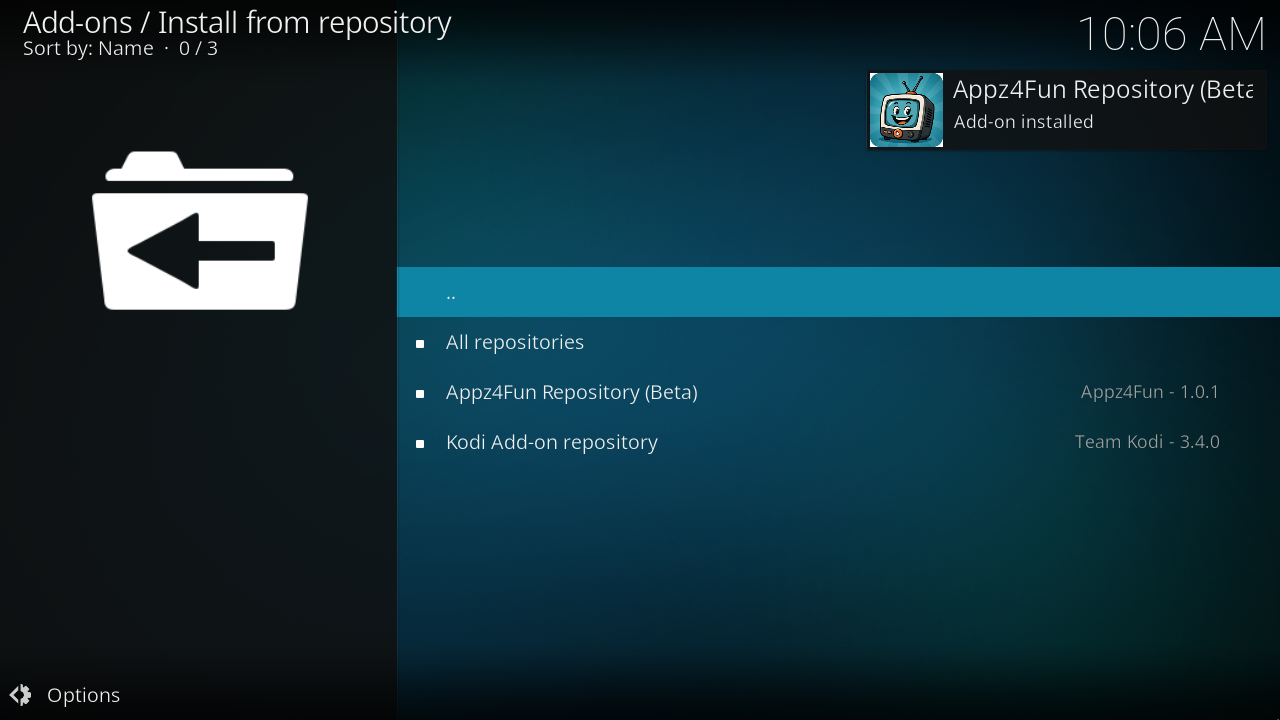
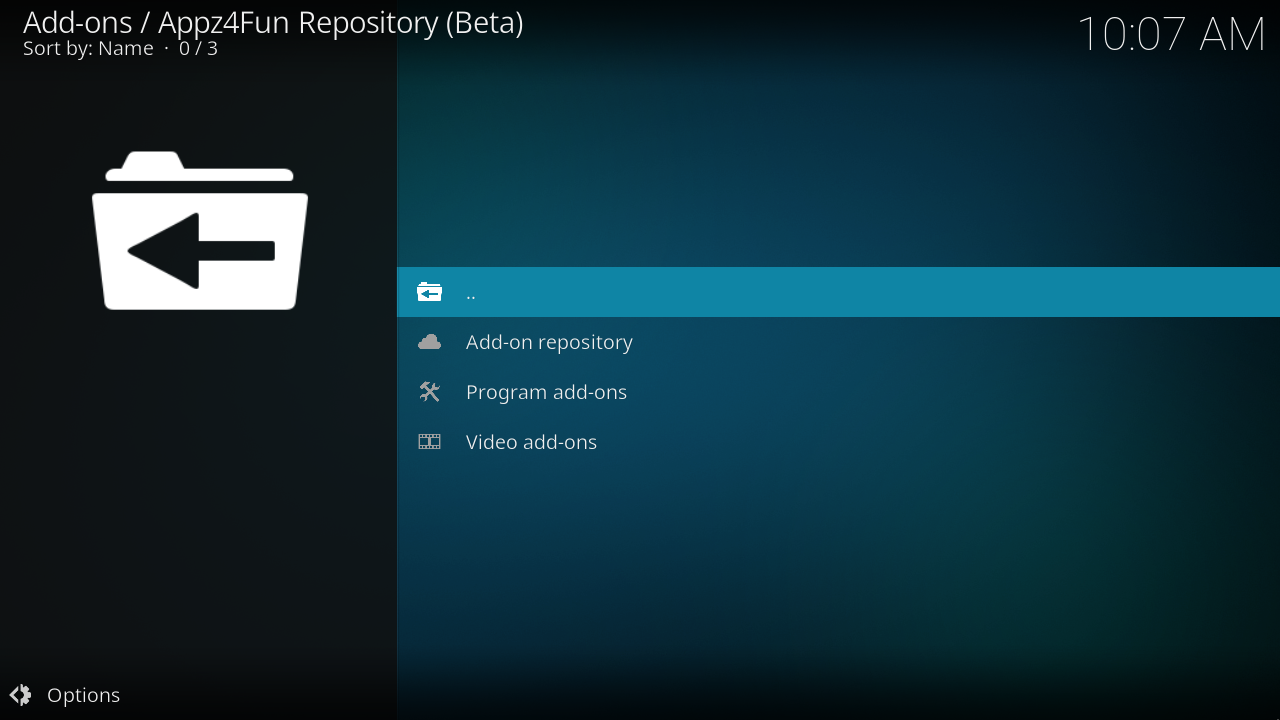
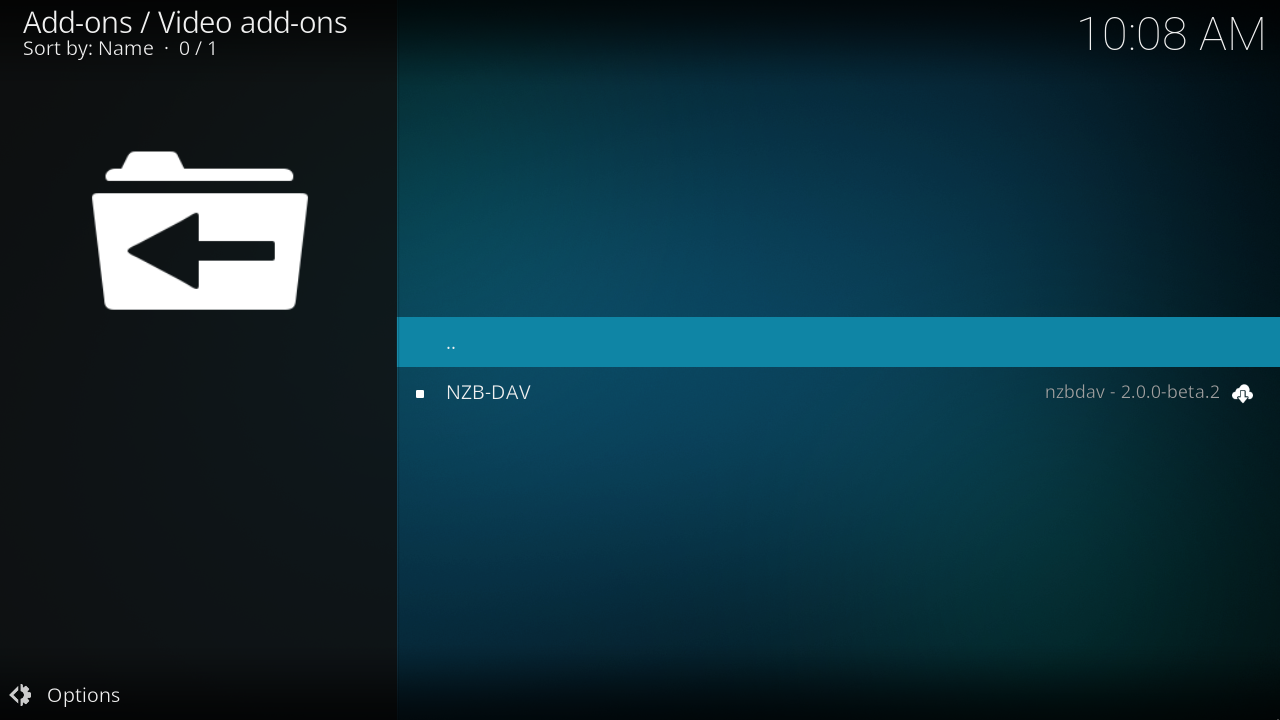
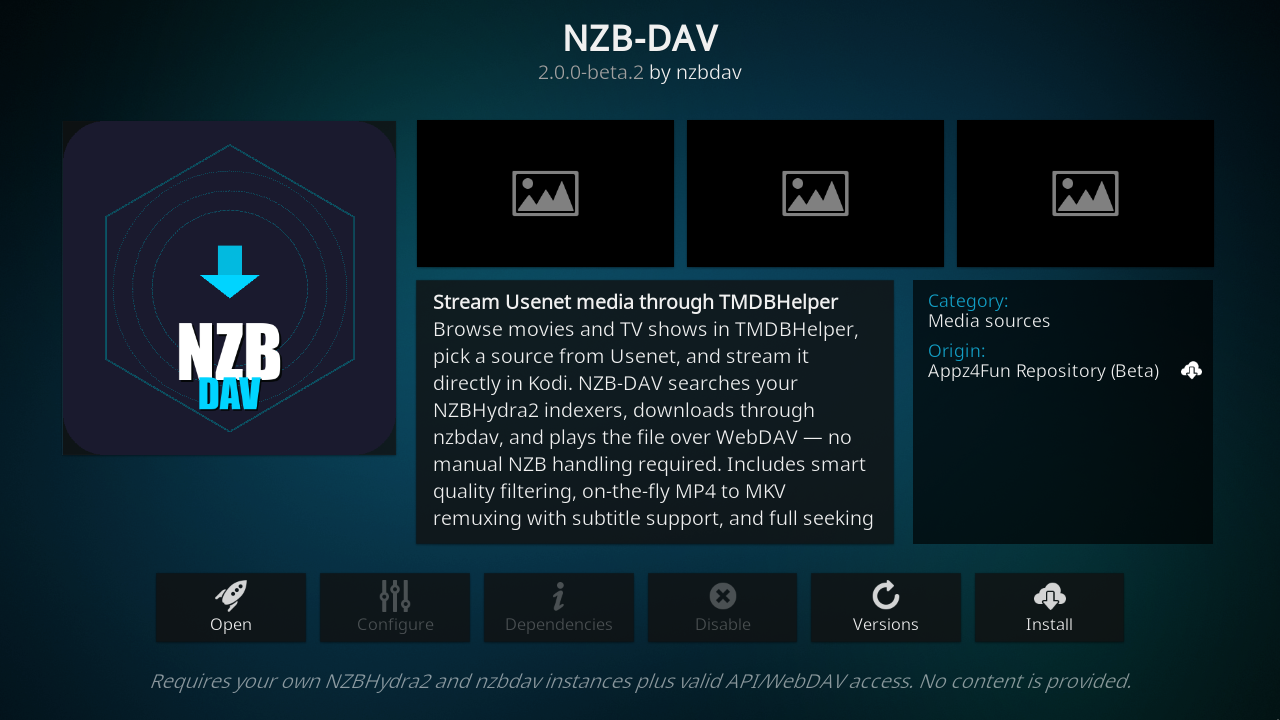
The VM walkthrough installed both the Beta repository ZIP and the released video add-on. The current source build was restored afterward to capture the newer settings. This verifies the installation steps separately from the unreleased settings layout.
Open the add-on settings
Open Settings → Add-ons → My add-ons → Video add-ons → NZB-DAV → Configure. After the renamed release, select NeNeTeePee-Stream-Kodi in the same location.
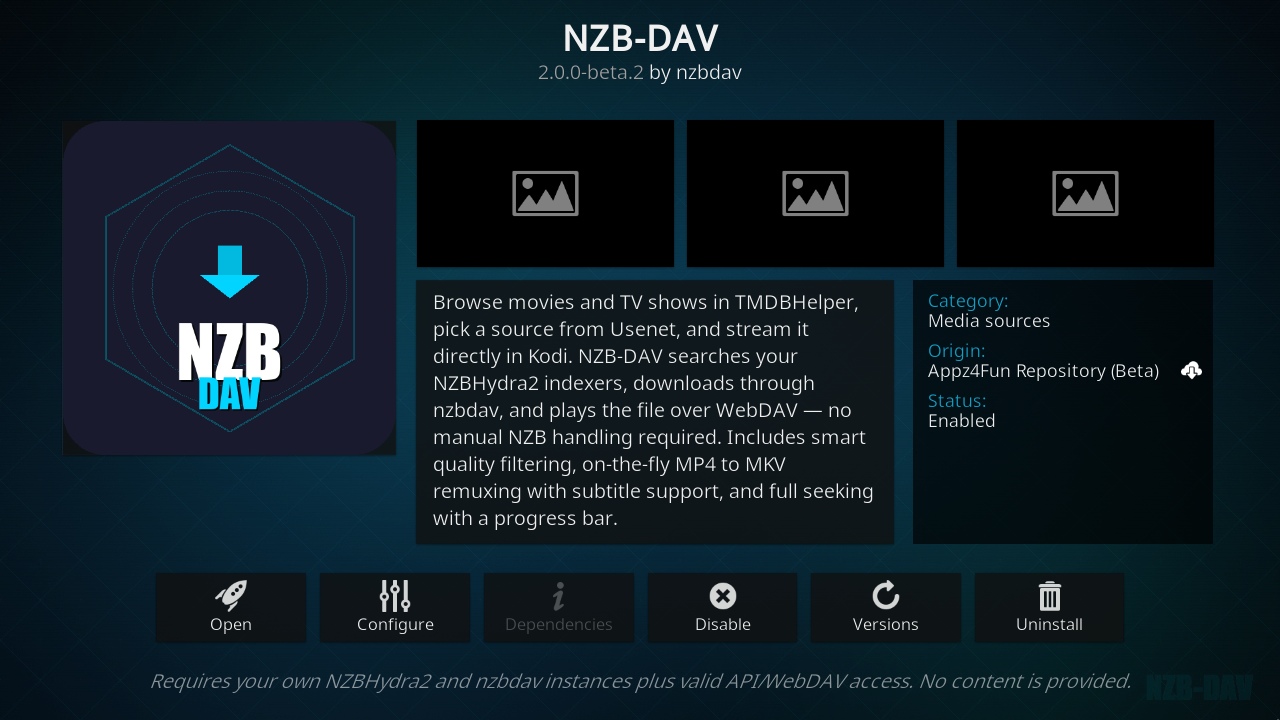
You can also open Add-ons → Video add-ons, open the add-on's context menu, and select Settings. Select OK after editing to save your configuration. Continue with backend services, the settings guide, and the required TMDBHelper setup.
Stable and channel switching
Appz4Fun Repository is the Stable channel. Appz4Fun Repository (Beta) includes prereleases. Use the channel you intend to receive updates from. Existing manual or legacy-repository installations may need Versions or Update on the add-on information page to select the package from the new repository. See installation and migration for the full migration procedure.